
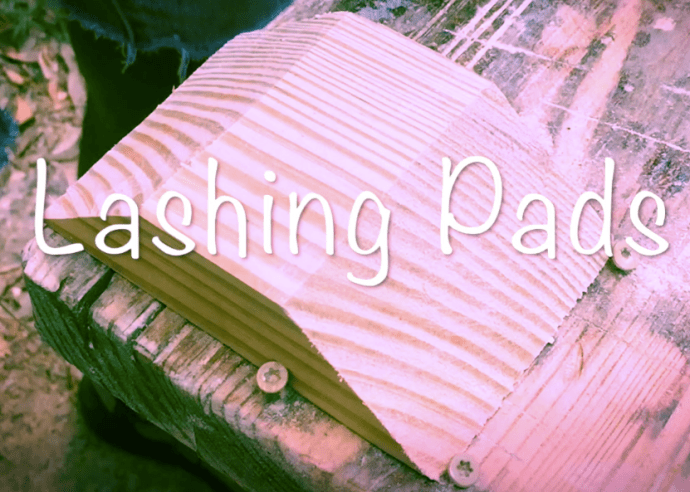
The Lash Pad
What are Lash Pads?
I’m glad you asked, lash pads are the pads that the lashing ropes go over to lash down the crossbeams in the crossbeam cradles to hold the crossbeams to the two hulls of the catamaran 🙂
I don’t know of many others that have created these things. I did it because they seem to make sense and they don’t alter the structural integrity of the boat…at least not in a negative way. And it was a good, fun, creative project.
The idea came to me after tying down Wilber’s crossbeams that are round in shape, each time the line was wrapped over the beam was pulled tight it held very well on all parts of the beam it touched and made it very secure. If I wanted to move the line at any point to tidy up the lashings it was difficult because the downward pressure was so high.
On other, bigger boats I noticed that the lines going over the top of the beams could be moved slightly in the middle of the beam and logic dictated that if it moved easily it wasn’t putting any down force on the center portion of the beam, only on the edges as it passed over and headed down for the next wrap.
No down force on the center of the beam
So I thought, “Why not make a pad that can be glued into place that gives a nice rounded top surface to the beam, provides a locating cradle for the ropes to sit in and make the down force applied to the beam a more even pressure over the full thickness of the beam?”
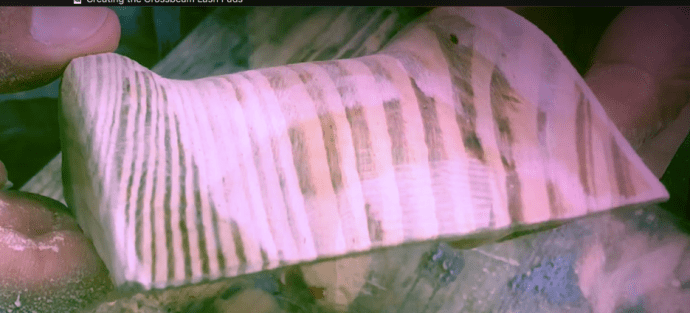
Rounded cradle section to locate the lashing.
I couldn’t come with any reasons not to do it, so I went ahead and did it, and then I also thought, “Hey, this would make another nice little video for my Youtube channel”, so I did that too…it’s here, ‘nice little video’.
This project could not be more simple.
I grabbed some scrap pieces of 2 x 4 and cut them to suit the width of the beams. I measured and cut the first one and then used it as a pattern to trace out the other 13 pieces. This way I could reverse each piece to maximize the material use.
Raw material for the lashing pads
To get the top radius I used the coffee can lid, traced around its edge and then with my ruler averaged the angles on the side for a straight cut giving the truncated triangle shape.
Four screws were driven into the work bench providing a secure little position for the block to be shaped in and then go bananas with the grinder.
Roughing the top curve, the recessed cradle and rounding all edges doesn’t take too long but with 14 to do it soaked up a whole bunch of hours.
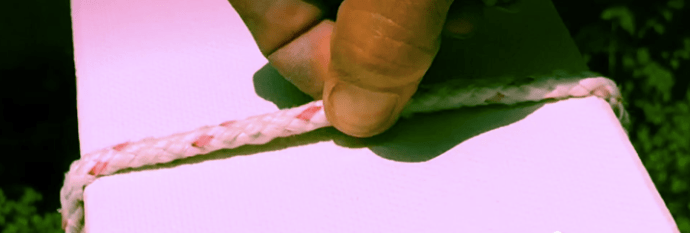
The position for each piece on the beams was found with a piece of rope and I let them sit where they looked correct. The surface of the beam got a roughing up with the grinder and small dimples were cut into both with a spade bit.
Epoxy coat everything, thickened epoxy at the joint and tie a piece of rope around to hold them in position. Clean the whole lot up with the grinder after the epoxy has gone off and seal with more epoxy and ‘Hey Presto,’ lash pads!
So what are lash pads? Groovy little things that I put together and am very excited to see if they perform the way I expect them to.

Click on the image to see the video